Sandwich Kwon Do Pipeline
Sole pipeline TD on a 50+ artist film. Versioned USD publishes that stop farm renders from flickering, a previs cut editor, and the show's OpenDRT color pipeline.
Sandwich Kwon Do is BYU Center for Animation’s 2027 capstone film: 50-some artists, about 100 shots, and a release date of April 20th. I’m its sole pipeline TD. I own the pipeline end to end, working alongside the show’s character and lighting TDs.
The pipeline ties together Maya, Houdini, Nuke, Substance, and Blender on Linux and Windows, mostly with Python, USD, and ShotGrid. Everything on this page is actively used by artists in production, and it is a treat to get to work with fantastic artists who give very honest feedback about my tools.
- Role
- Sole pipeline TD
- Crew
- 50+ artists, ~100 shots
- Stack
- Python, USD, Qt, ShotGrid, Tractor, OCIO
- DCCs
- Maya, Houdini, Nuke, Substance, Blender
- Platforms
- Linux (EL9), Windows 11
At a glance
Pinned asset and shot publishes#
Render flicker has haunted BYU productions for years. Someone republishes an asset while a shot is rendering on the farm, and halfway through the job the frames start picking up the new version.
I was inspired by a SIGGRAPH talk from Walt Disney Animation Studios, Optimizing Assets for Authoring and Consumption in USD (Li et al., 2024), about how they structured assets on Wish. Their idea is to keep the structure artists author separate from the structure shots consume, compile one into the other at publish, and version the source files right alongside the compiled ones. Our pipeline already had a compile step without calling it that (more on that below), so versioning was the piece I was missing.
Now every publish is a numbered folder that never changes once it’s written. Each version records who published it, when, why, and whether it’s final, and keeps a copy of the scene file that made it. Shots read a “current” layer that points at one version, so rolling back is just pointing it somewhere else.
chair/
  chair.usd     current → v002
  v001/
    chair.usd
    _src/
  v002/ ...
  .v003.tmp/    being written
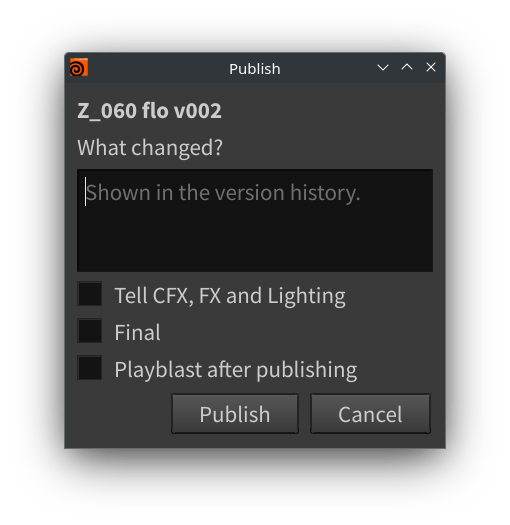
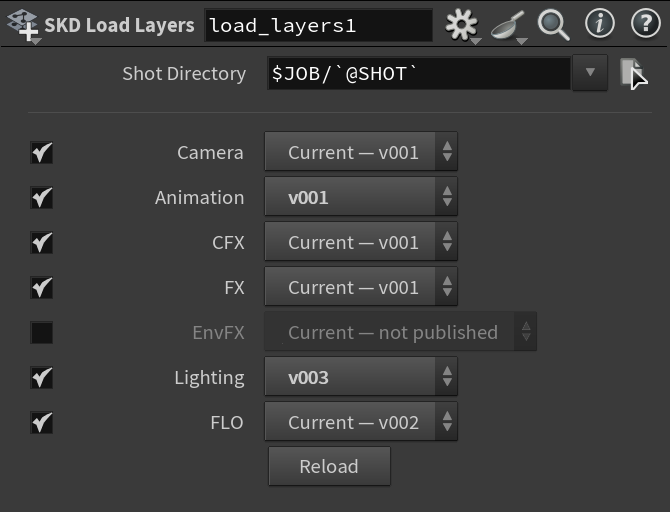
I extended this system to environment assembly and shot departments. The biggest improvement from this system was version pinning at render time on the farm. When a render gets launched, the Tractor job claims its own render version folder and writes a render.usd that pins every layer in the shot to the exact version it was at when they clicked. The farm renders that with plain husk, so a republish halfway through the job changes nothing. Each denoise frame is its own retryable command, a cleanup step marks the version complete, and comp’s Nuke Reads pick up the new version on their own.
It fixed a people problem too. When an upstream department publishes something broken or not yet approved, downstream doesn’t have to stop and wait for the fix anymore. They are free tostay on the version that works, or compare the two.
Previs, and the break-out tool#
Our previs team is three people turning out a lot of shots. Before this, each of them worked their own way, either a separate Maya file per shot or Maya’s Camera Sequencer (which isn’t really built for how they work), and then they assembled the cut themselves, usually in Premiere.
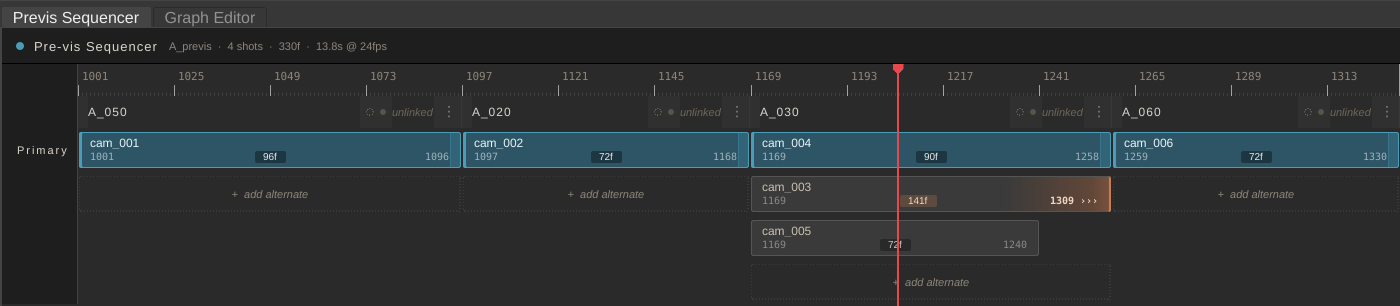
I didn’t like this, and spent the summer building them a cut editor inside Maya. Shots sit in columns with their takes stacked underneath, there’s a timeline you can drag and trim, the cut plays back in real time, and it can batch playblast every shot at once. They loved it, eventually. It took several rounds, mostly because I got two big things wrong.
First, I assumed one Maya file per sequence would be enough. After talking with them, it was clear that was extremely naive. Now the editor works across as many files as they want, with a manifest that tracks where each file came from and which shots live in it. A shot keeps its code no matter which file it’s in.
Second, I assumed each shot could own its frame numbers. They most certainly can not. Previs artists overlap shots all the time, cutting between angles on the same action. Now each shot has a source range and a separate place in the cut, and when two overlap, the one you’ve selected wins.
The biggest workflow improvement is break-out. When a shot is ready for layout, break-out turns the previs scene into that shot’s layout scene. It does a dry run first, reading ShotGrid, the scene, and disk without writing anything, so if something’s off the artist gets an error they can act on before anything changes. Then it:
- removes every other shot’s camera rig
- pins curve values at the handle edges and trims keys outside the shot’s range
- retimes to the shot’s start frame and renames the camera after the shot
- strips out the previs scaffolding
- creates or re-cuts the Shot in ShotGrid
- saves the layout scene and assigns the previs sets to it
If a layout scene already exists, it gets versioned first, so a delivery is never a loss. It also warns about animation inside references, because Maya quietly refuses to trim those.
By hand, all of that took more than five minutes a shot and was easy to get subtly wrong. About 50 of the film’s ~100 shots have gone to layout through break-out so far.
Color Space Management#
Past BYU films displayed through ACES 1.0, and we had issues where it flattened saturated blues. The last two films used a different display transform inside of houdini than in renders. I really wanted to be the first BYU film to handle color correctly.The lighting director and art director assumed ACES 2.0 would fix our woes. I liked OpenDRT better. I shipped both as views in the show’s config, let the leads work with both, and later asked which they preferred. OpenDRT is now the default in every viewport on the show.
The catch is that our lab machines run OCIO 2.3, which can’t evaluate either transform. So a script generates the show’s config on top of the ACES 1.3 CG config, and the two looks are baked offline. For OpenDRT, it compiles the reference DCTL with a C++ compiler and evaluates it on the CPU. ACES 2.0 gets sampled from OCIO 2.5. Each one becomes a 65³ LUT (ACEScct in, display-linear Rec.709 out), with the shaper and display encoding written natively into the config. Each look also has a black-and-white view, so lighters can check values without color getting in the way.
That config is the default in Houdini, Maya, Nuke, and Blender, RenderMan’s texture colorspaces are mapped onto it, and playblasts encode through it too. It matters most for lighting and rendering, but shading works through it as well, so everyone is looking at the same picture.
One-click publish across DCCs#
On past BYU shows, publishing an asset meant opening several DCCs. Modelers and shaders both had to open Houdini, where the USD assembly happens, every time they changed a model or a texture. That’s a lot of places for something to go wrong, and a lot of places to look when it does.
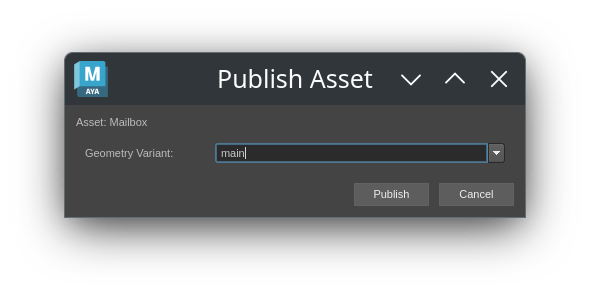
Now an artist clicks Publish and that’s it. Maya exports the source, or Substance Painter will export the textures, generating proxy .jpeg and rendertime .tex files. Buth will then run Houdini headless against the asset. Houdini compiles the USD asset (geo.usd, mtl.usd, payload.usd, and asset.usd), renders a thumbnail, and hands back a JSON result that Maya reports to the artist. In the Disney talk’s terms, this is our compile step: artists author in Maya and Painter, and Houdini compiles what shots consume.
The builder writes an ordinary Houdini node graph into the asset’s file, so artists can open it up and tweak it. It’s rebuilt idempotently, and their edits survive the next publish. Variants come from the publish folder itself: the builder scans it for geometry and material variants and nests a variant switch for each, so adding a dirt pass is just publishing one. The material library node generates the RenderMan material networks, plus a USDPreviewSurface network that serves as the default viewport material. Artists can add pre- and post-scripts as well, which lets them send turnaround renders to the farm and upload as a new version on ShotGrid.
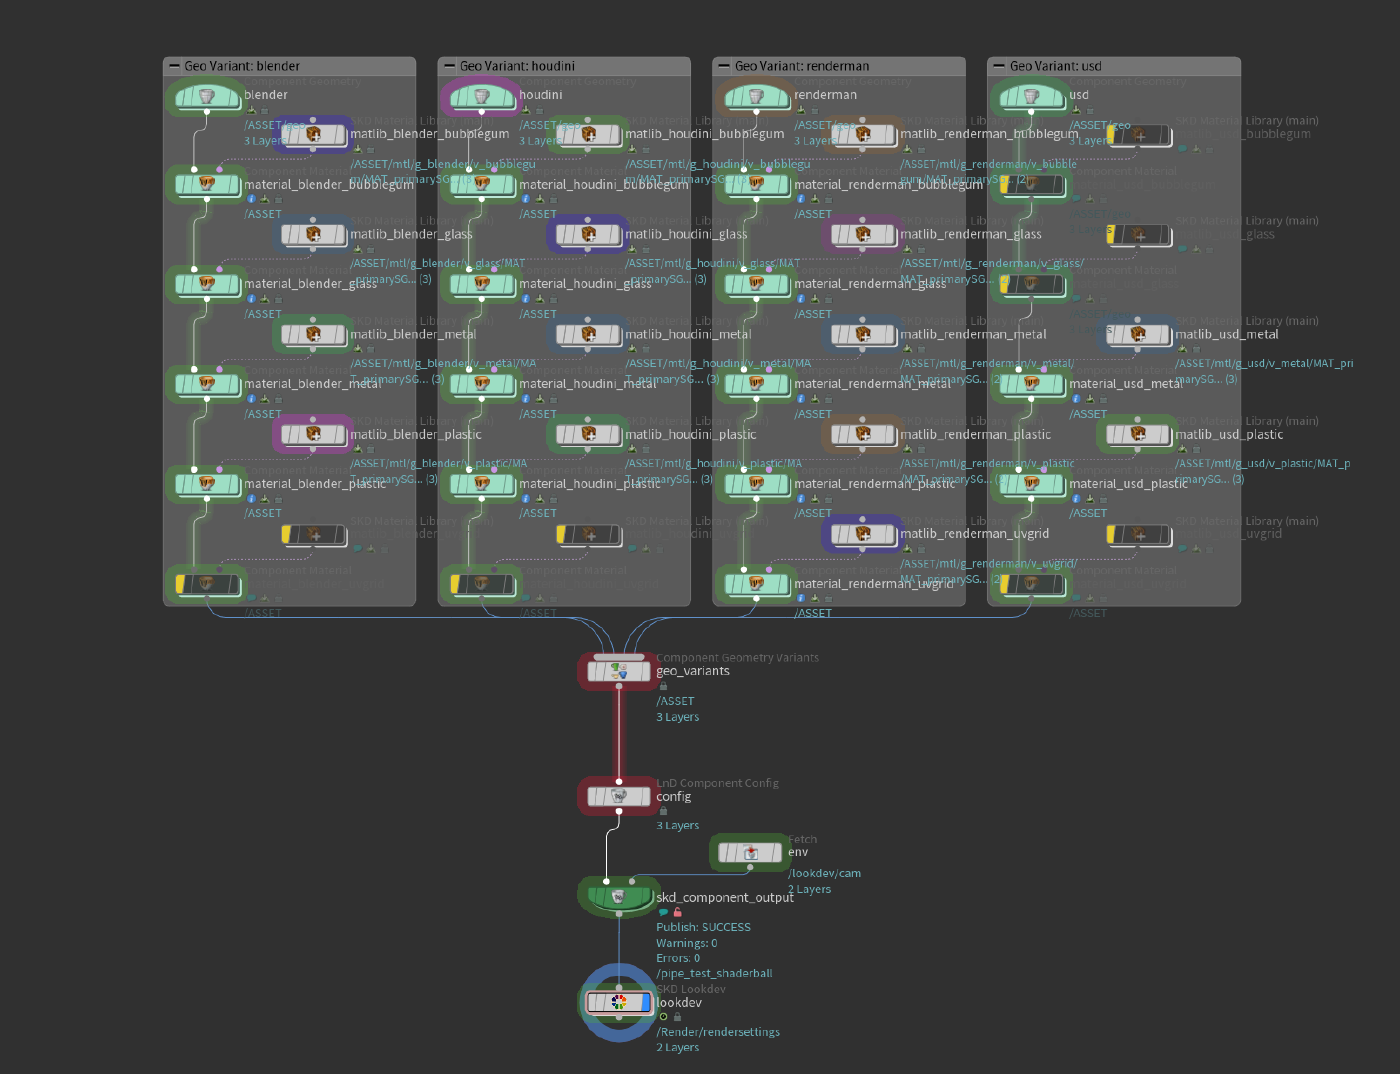
Since the summer it’s picked up set publishing, a Houdini publish node for shot departments, and an asset creation flow that validates names. I also reworked the Substance Painter side to clear out a pile of dialog, API, and colorspace bugs.
Playblasts for dailies#
Preparing media for review in dailies is often tedious and error prone. Fortunately, it’s also highly automatable!
My first version could upload a playblast straight to ShotGrid, but it couldn’t show you the playblast first, so broken playblasts went straight to dailies. Previewing before committing became the core of the tool. What I wanted was something like MPlay, but for every DCC, with export options built around what our artists actually need.
The result is one viewer shared by Maya and Houdini. It plays the frames back with a scrub bar and a filmstrip of clips, each marked once it’s confirmed. Confirming writes to whichever destinations are checked: disk, or a ShotGrid Version added to the review playlist. Batches of clips can be joined into one cut. FFmpeg burns a department-specific HUD onto the frames (artist name, version, even a keyed FOV that changes over time) and encodes with DNxHD or H.264 presets. Version numbers are checked against both ShotGrid and disk, so they don’t collide.
Smaller things artists liked#
Publish announcements. When something publishes, the departments downstream hear about it. A rig publish pings Animation, an animation publish pings CFX, FX, and Lighting, and so on. Discord pings the right roles, and a ShotGrid Note on the Shot goes to whoever is assigned downstream. Rollbacks announce themselves too (“moved to v003”), so nobody is surprised when a version changes under them.
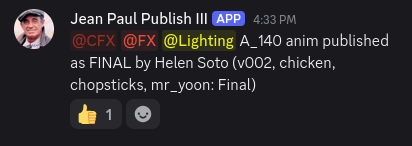
Picking rigs on animation publish. On our last film, a prop rig broke on shots that were already finaled, and fixing it meant republishing those shots without replacing every other rig’s animation. Now animators choose which rigs go out, and anything published before is kept.
Pin shift. Insert or remove time at a frame without deforming the animation around it.
Turnarounds. A 3/4-view turnaround with wireframe and point count burned in, in one click.
2D effects in Blender. Grease Pencil effects drawn over the latest render of the shot, with published geometry as holdouts.
joseph-wardle/sandwich-pipeline Pipeline for BYU Animation's Class of 2027 capstone film